


I met Sarah, a busy working mom of two who discovered the joy of crafting during a particularly stressful period in her life. She had always been creative, but never made time for hobbies. Sarah said she stumbled upon a handmade card-making tutorial. Intrigued, she decided to give it a try. The act of creating something with her own hands was therapeutic, and she found herself lost in the process. She made card after card, each one more beautiful than the last. Soon her friends and family were asking her to make cards for special occasions, and she realized she had a talent for it. She was encouraged.
So, let us do a little tutorial on few various crafting projects just in case it is a hobby or talent you are yet to discover. Choose any and try it out.
Project 1: Handmade Card Making
Materials:
– Cardstock
– Scissors
– Glue
– Markers or colored pencils
– Stamps (optional)

Step-by-Step Guide:
1. Cut a piece of cardstock to the desired size for your card.
2. Decorate the card with markers, colored pencils, or stamps.
3. Cut out shapes or designs to add to your card.
4. Glue the shapes or designs onto the card.
5. Add a message or greeting to the inside of the card.
6. Fold the card in half and voila! Your handmade card is complete.
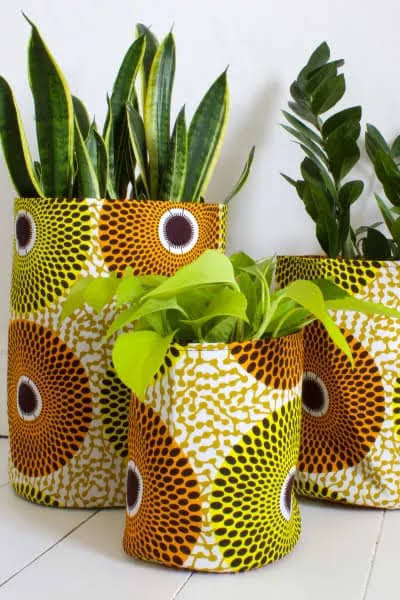
Project 2: Macramé Plant Hanger
Materials:
– Cotton rope
– Scissors
– Board or cardboard
– Plant pot
– Plant

Step-by-Step Guide:
1. Cut four pieces of cotton rope to the desired length.
2. Fold the rope in half and tie a knot at the top.
3. Wrap the rope around the board or cardboard to create a pattern.
4. Tie a knot at the end of each rope piece.
5. Attach the ropes to the plant pot and hang your plant.
Project 3: Customized Mug
Materials:
– Mug
– Paint
– Paintbrush
– Sealant (optional)

Step-by-Step Guide:
1. Clean and dry the mug.
2. Paint your design onto the mug using acrylic paint.
3. Allow the paint to dry completely.
4. Apply a sealant to protect the design (optional).
5. Enjoy your customized mug!
Feel free to share your own crafting story or experience! We’d love to hear it.
Author


Leave a comment